
Crafting Custom Credentials — A Guide To Creating DIY Name Tags

Name tags are more than just a simple accessory; they can play a vital role in making connections, breaking the ice, and leaving a lasting impression on attendees. Whether you're a conference organizer, event planner, or attendee looking to add a personal touch.
This short guide will give you the knowledge and skills to design and assemble your custom name tags.
What are DIY name tags?
DIY or Do-It-Yourself name tags are personalized identification tags that individuals or event organizers create rather than purchasing pre-made or custom-printed ones from professional vendors. Attendees, participants, or staff typically wear these name tags during conferences, events, workshops, seminars, trade shows, and other gatherings to display their names, organizations, job titles, or additional relevant information. They can also be used for personal events, like birthday parties, gift tags, baby showers, and more.

Define the type of name tags
The foundation of any DIY name tag is why people will wear it. This will help you decide on the budget, the material, and the type of name tags you will create.
Printable Name Tags
Printable name tags are popular for creating personalized tags for conferences and events. To begin, you'll need to design your name tags using templates. Numerous online tools and software offer pre-designed templates. More on that later.
Once the design is ready, print the name tags on high-quality cardstock or specialized paper. Cardstock provides sturdiness, ensuring the tags don't easily bend or tear. Make sure to use a printer with good color accuracy to maintain the visual appeal of the tags.
After printing, carefully cut out each name tag. Consider using a Cricut or a precision craft knife to save time. Finally, assemble the name tags by adding attachments like lanyards, clips, or pins to make them wearable.
Laminated Name Tags
Laminated name tags offer a professional and long-lasting solution for events where durability is a priority. Start by designing your name tags with the intention of laminating them. Ensure that the design fits within the laminating pouch size you plan to use.
You'll need a laminating machine and pouches to laminate the name tags. Place the printed name tags into the pouches, ensuring proper alignment. Feed the pouches through the laminating machine, and the machine will seal the pouch, protecting the name tags from water, dirt, and wear.
Add the finishing touch by attaching lanyards, clips, or pins to prepare the name tags for wear.
Badge Holders with Inserts
Badge holders with inserts provide a versatile and reusable option for conferences and events with changing attendees. These holders come in various sizes and styles, including clear plastic pouches with a top-loading or side-loading design.
Start by choosing the appropriate badge holders that suit your event's needs. Once you have the badge holders, create inserts for each attendee. The inserts can be printed on paper or cardstock or use pre-cut perforated sheets that fit perfectly into the badge holders.
Design your name tags
Now comes the fun part - designing your custom name tags! This is where you can use your creativity and start from scratch or use a tool like Conference Badge.
Manually Designing with Templates
Designing name tags manually using free-printable templates offers a hands-on and highly customizable approach to creating unique tags for your conference or event. Creating templates from scratch or using design software like Canva gives you full control over the layout, fonts, colors, and other design elements.
1. Define the Layout: Start by determining the size and shape of your name tags. Consider the information you want to include and ensure the name tags are large enough for easy readability.
2. Branding and Themes: Incorporate event branding elements, such as logos, color schemes, and event slogans, to create a cohesive look. Align the design with the event theme to enhance the overall experience for attendees.
3. Font Selection: Choose clear and easy-to-read fonts, even from a distance. Avoid using overly decorative fonts that may hinder legibility. Stick to a maximum of two or three font styles to maintain visual consistency.
4. Colors: Select a color palette that complements your event theme and ensures high contrast between text and background. This will make the name tags more visually appealing and easier to read.
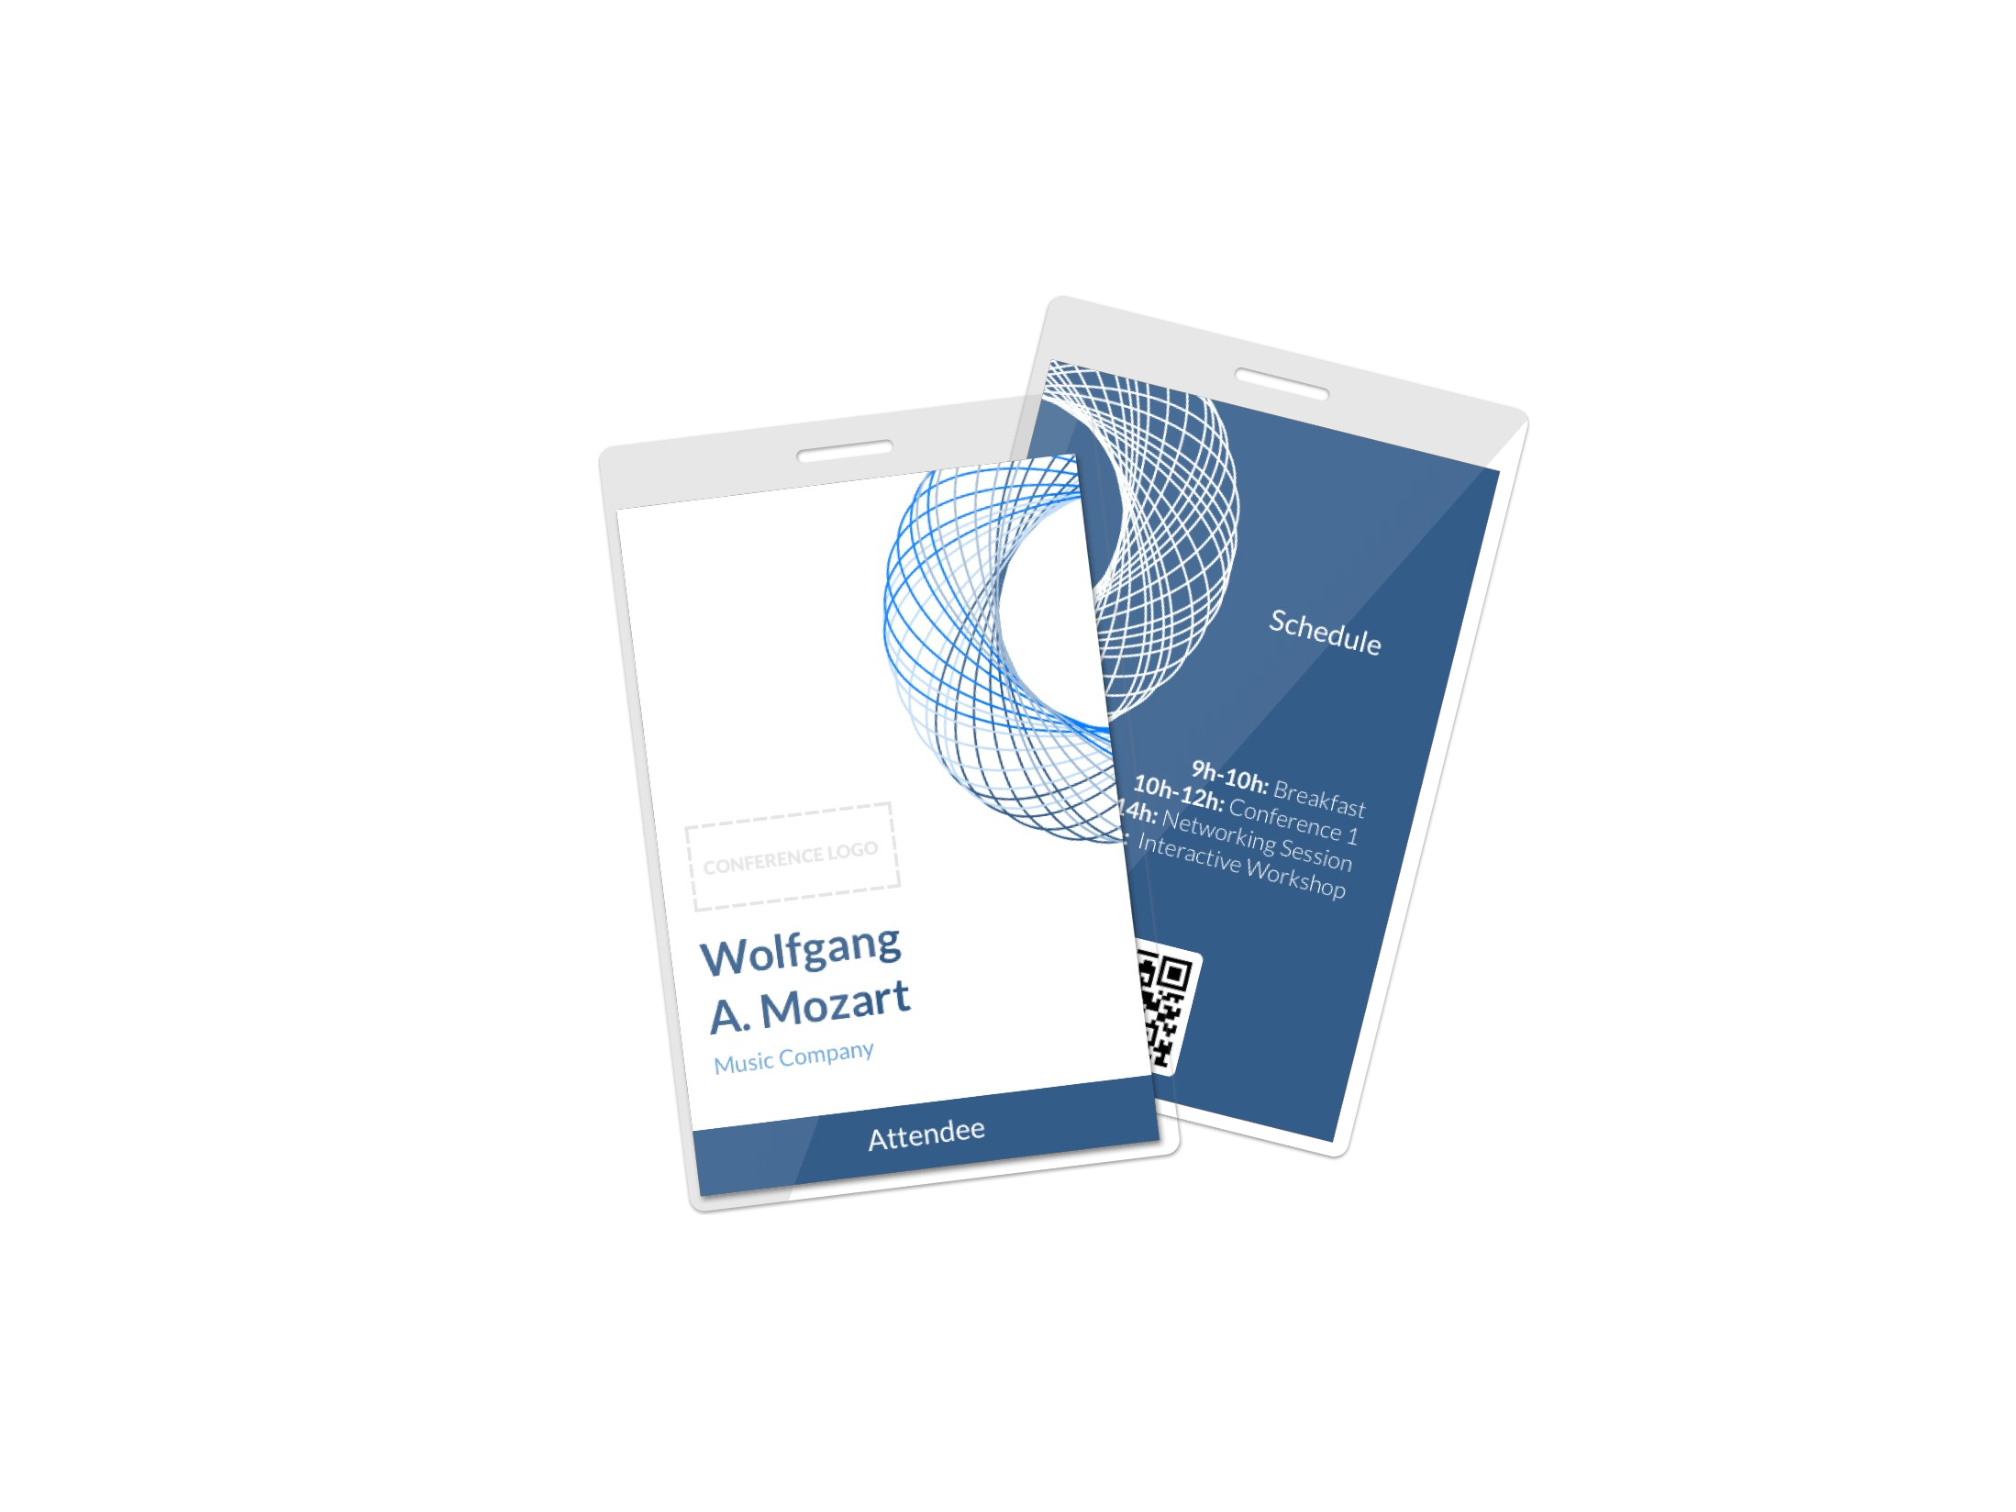
5. Attendee Information: Include essential details such as the attendee's full name and organization. Add designations, job titles, or any other relevant information depending on the event.
Utilizing Online Name Tag Design Tools
Utilizing online design tools is an excellent option if you prefer a more straightforward, time-efficient approach to designing name tags. We are a little biased, but the best tool out there is definitely Conference Badge. It provides a user-friendly interface, templates, and multiple awesome features to create name tags in only four steps.
Here's how it works:
1. Create an account and import your attendee information
When you log in, you will first be asked to upload a spreadsheet or connect your Eventbrite account if you’re hosting your next event with them. The variable data, like the name, business name, and job title, will automatically be imported and added to the badges.
2. Choose the most convenient badge product
You can print the badges yourself by downloading a PDF file. Additionally, you will have access to the print screen, where you can print on-site badges for last-minute attendees.
The second option is to use our print-and-ship services, which include printing, cutting, and assembling into plastic card holders and optional black lanyards. Both of these options will get you great-quality badges.
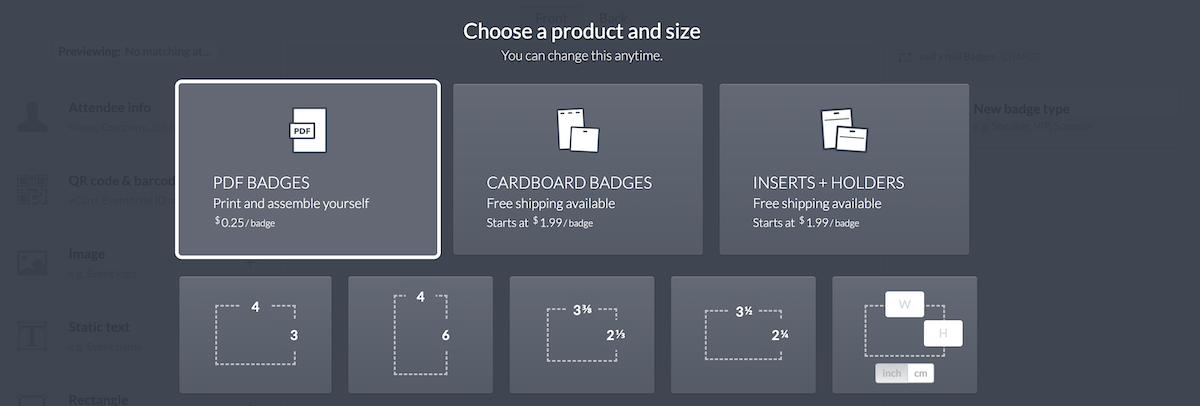
3. Select the size and template of the badge
We offer high-quality PDF badges that can be customized to any full-color or black-and-white format you need. You can choose from our templates or get custom-sized name badges by clicking on PDF Name badges, entering the desired width and height, and selecting a unit of measurement (inches or cm).
4. Customize the badge design
The conference badge's editor allows you to fully customize it, add/delete text, add a QR code, add logos or background images, and change templates.
If you want to create different badges, you don’t have to make additional custom orders, as it can all be done under the same one. You must click the ‘New badge type’ button on the right.
Tips and tricks for awesome DIY name badges
Regardless of the method and material you choose for designing name tags, the key is to create visually appealing and easy-to-read tags. Here are some essential tips to achieve an attractive and legible design:
Keep it Simple: Avoid cluttering the name tags with too much information or unnecessary design elements. A clean and minimalistic design will ensure better readability.
Use High-Quality Images: If you include logos or graphics, ensure they are high-resolution to maintain a professional look.
Consider Accessibility: Be mindful of visually impaired attendees and ensure that the font size and contrast are sufficient for easy reading.
Remember that well-designed name tags facilitate networking and serve as memorable keepsakes from the event.
Why settle for generic name tags when you can design something extraordinary yourself? Whether you use a badge generator or a design tool, making unique, personalized credentials is easy and fun. Happy crafting!